Makeup Brush Basics: Eyes
Hey there! I’m excited to be sharing some makeup brush basics with you. In this video, I’ll be focusing on the Eye Brushes. There are so many options with eye brushes, so we’re starting with the best beginner options that will allow you to grow your collection over time.
In today’s tutorial, I’m keeping it nice and simple by using three colors from the Huda Beauty New Nude Eyeshadow Palette from Sephora, as well as the Urban Decay Eyeshadow Primer Potion (I use Eden).
Primer potion applied to the eyelid helps color hold, but also provides color correction when needed.
Below are details on each of the four brushes I’m using and what each works best for.
I want you to keep in mind that there are no rules when it comes to brushes. These are simply my guidelines to getting started and creating consistency in your routine. Do what works best for you!
In this tutorial, I am make-up-less! There is a lot of fallout on the eyeshadow from the application, so that’s why I prefer to do eyes FIRST!
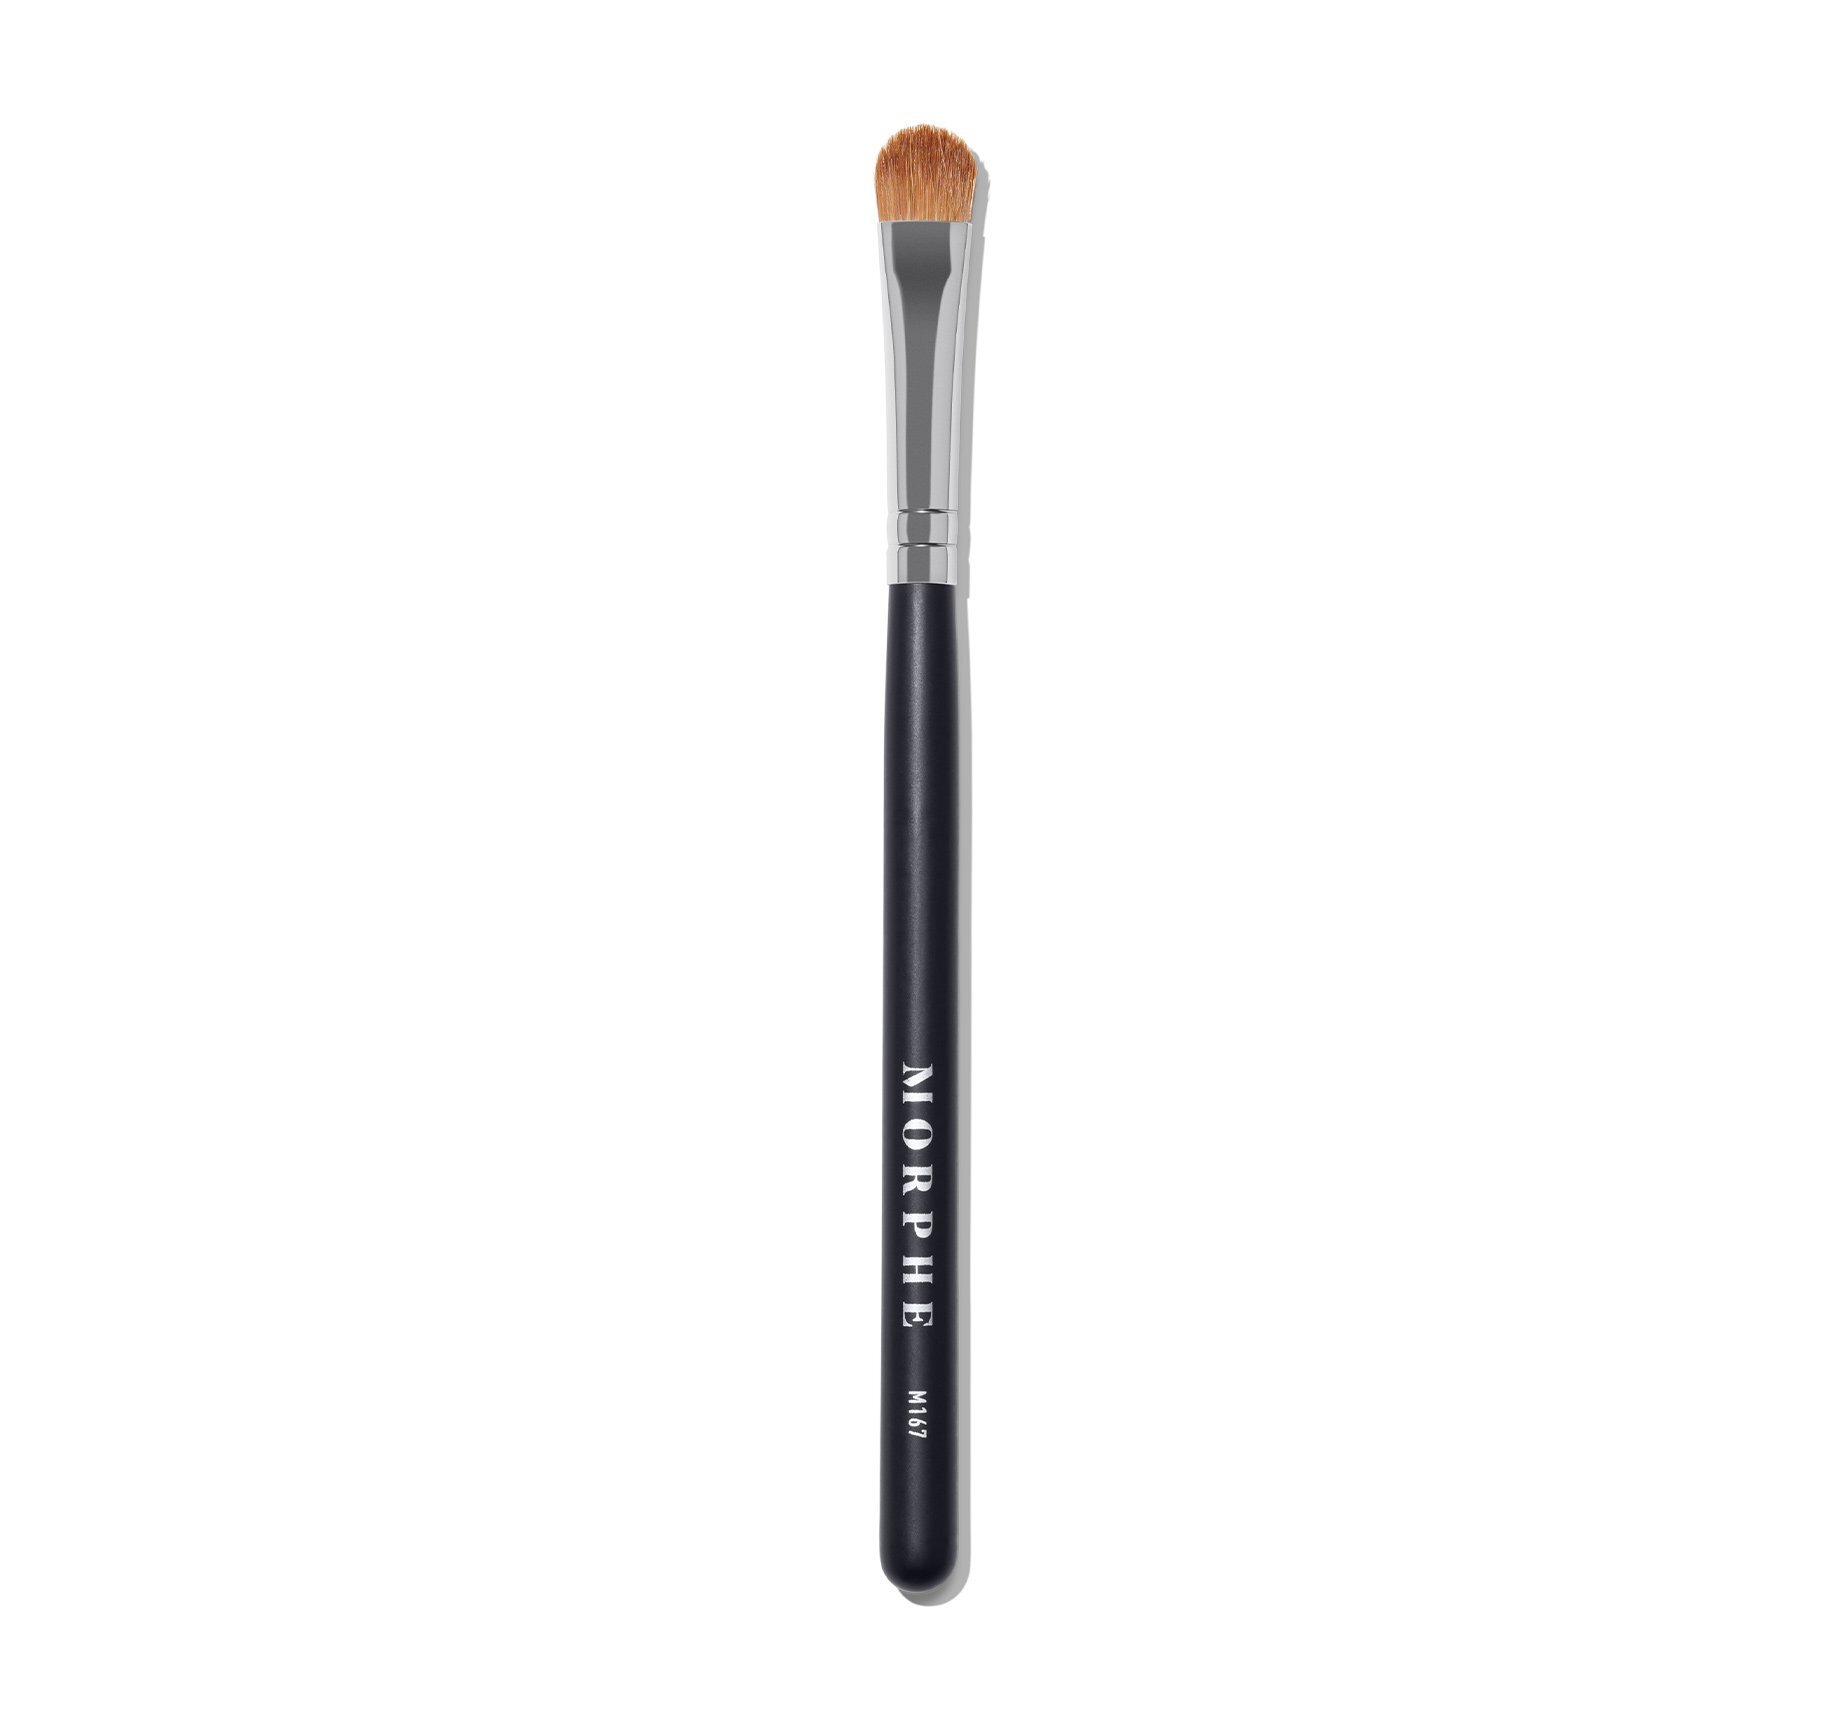
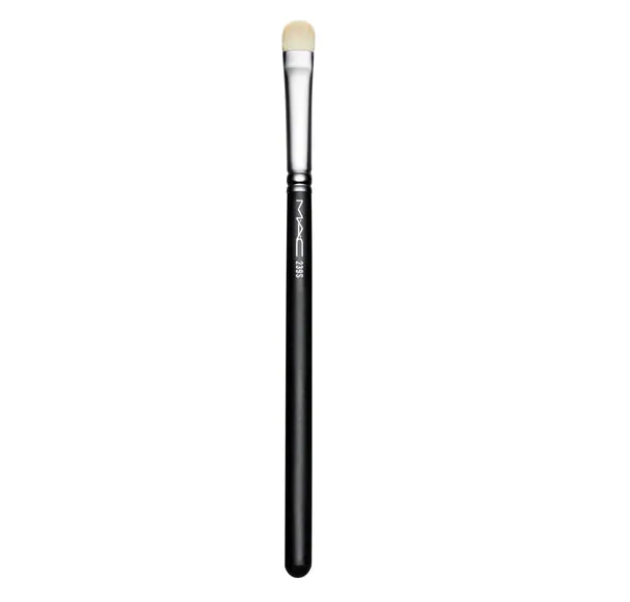
First eye brush: Flat, packing brush
As the name implies, this is a great brush for packing color on. Don’t be afraid to load it up! It’s meant for full coverage. You’ll blend from this foundation, so a little extra saturation is okay! For this step, I’m using my most neutral color and taking it up to the crease. As you’ll see, the flat surface of the brush works great for tapping the color on and covering more surface area. It’s a great option for the lid and the browbone.
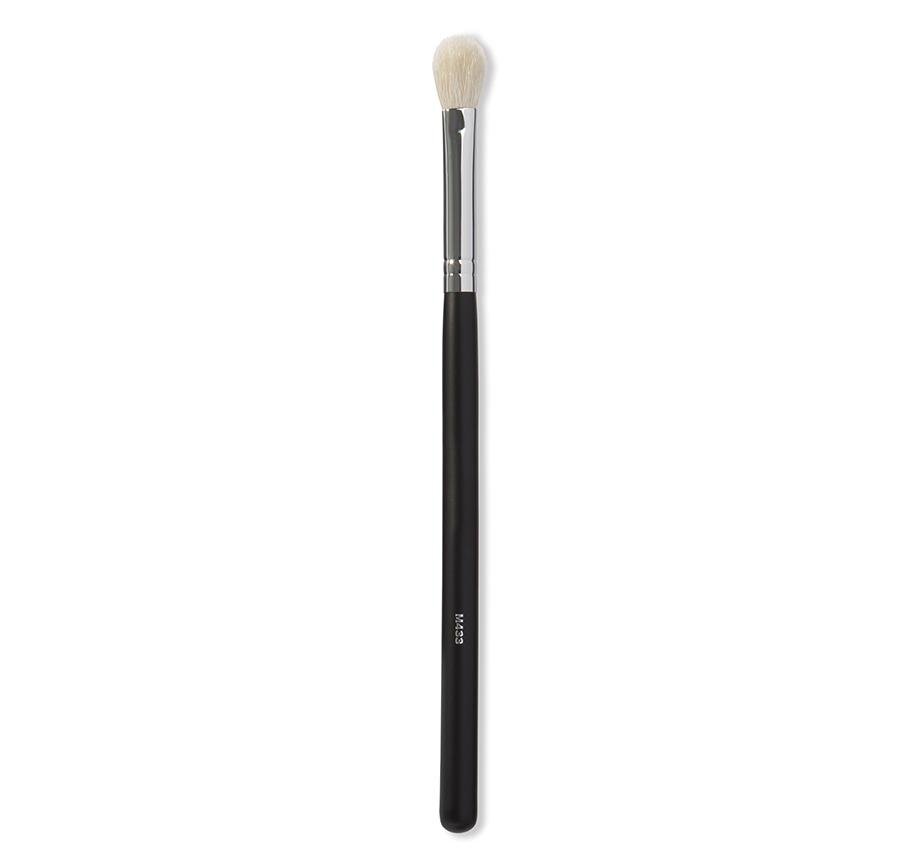
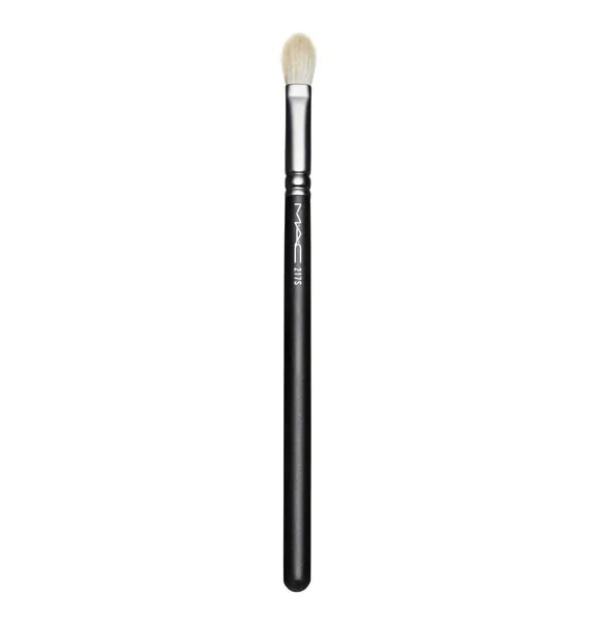
Second eye brush: Universal, fluffy brush
The fluffy brush is a must for every collection! If you don’t have any other brush in your arsenal- this is the perfect starting brush. Although it’s usually used for applying shadow to the crease, it’s great for concealing and blending as well.
When applying color with the fluffy brush, you’ll want to tap off the excess color before applying. Then use a windshield wiper style motion in the crease area. Because it’s fluffy, it helps to blend for you.
This brush is also great for creating a smokey eye as it’s fantastic for applying color to the corners. There is an assumption that a smokey eye is only dark shadow. But it’s actually any color combination that creates depth at the lashline or corner of the eye.
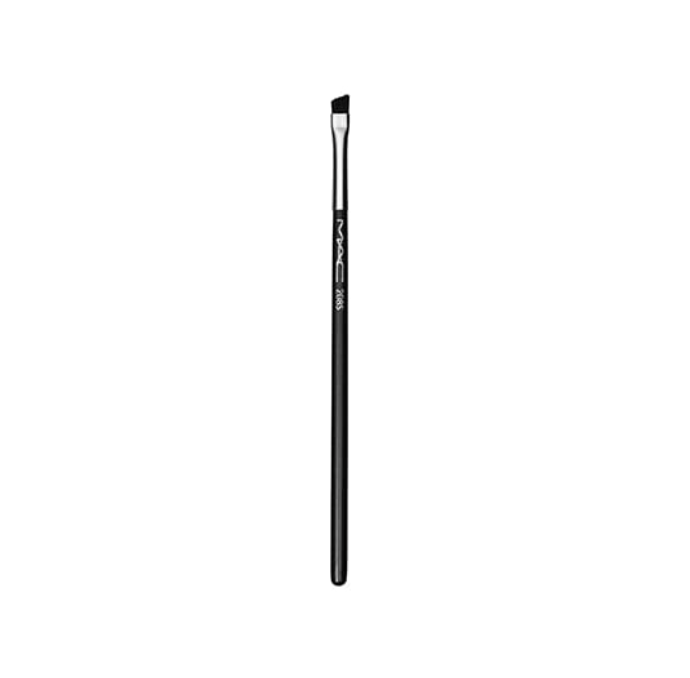
Third eye brush: Eyeliner/brow angled brush
The angled brush is great for eyeliner and applying brow color. The angled brush will help you define the lashline and It can be used for a gel eyeliner or any other color shadow. The key to a great application with this brush is to gently pull eyelid away and get really close to the eye line.
Fourth eye brush: Pencil brush
When thinking about the Pencil brush, think about precision color application. This brush is great for the undereye and boosting your color intensity. This brush really gives you more control where the color is going and how bold we want it. With this brush, you can place the color where you want it, pack it in then use the fluffy brush (#2 above ) to buff it in.
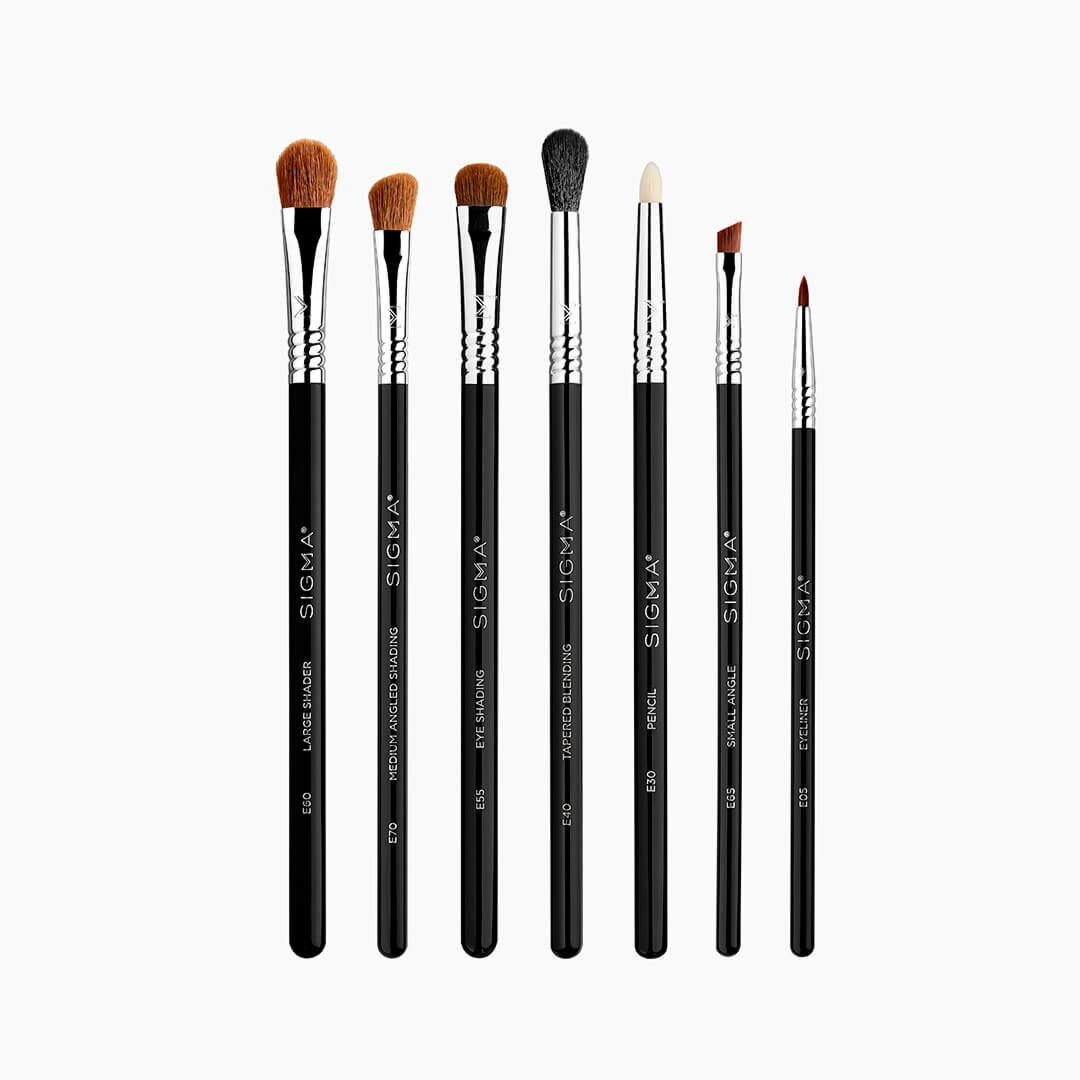
Eye Brush Kits
If you’re ready to scoop up a new set, these brush kits are a great place to start! They’re available at a variety of price points as well, so if you’re not ready for a big investment, that’s OK! (Hey, one of my all time favorite brushes is actually from Rite Aid!)
Now that you’ve mastered the eyes, make sure you have the proper tools for your face! Click here to head over to my blog & video on Face brushes!
Stay in touch & sign up below for more blogs & updates like this!






Healthy, glowy skin will always be in!!! No need to overhaul your entire makeup bag to achieve it. You can simply add in some products that will illuminate your look with just an additional step or two!! Here are some of my favs!